SUPER SCULPEY & SCULPEY III TEST FOR KRIZZE
RETURN TO THIS & THAT SUBMENU
March 2005:
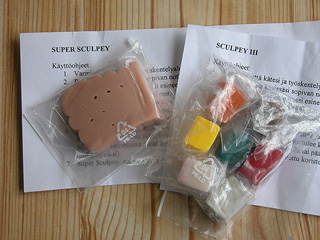
A little while ago, I received Super Sculpey and Sculpey III samples (above) from Krizze,
who had looked for clay test volunteers in our group. I only had experience on
FIMO soft and FIMO classic, and since they don't sell Sculpey in our local craft
shop, I was keen to have a go.
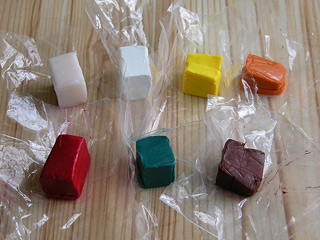
I decided to start with Sculpey III. The basic colours looked very different
from those of FIMO. I had promised to test how suitable this clay would be for
making miniature food, and I have to say I felt very tempted by these colours
as they seemed sort of more natural than FIMO - well, as it turned out, they
were anything but natural! Read on...
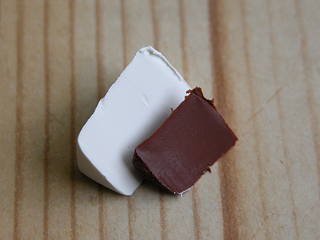
To be able to compare Sculpey III and FIMO soft, I wanted to make something
similar to what I've already made with FIMO. So, how about a little sandwich..
I took some white, and a small amount of dark brown, and started mixing them
to make pale brown, for bread..
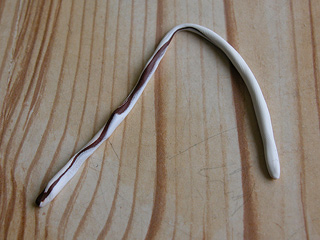
Mixing colours seemed to take much longer than with FIMO soft. I made snakes,
I made balls, I rolled the clay out, to roll it up and make more snakes and
balls.. It took quite long to get the colours mixed! As I wanted to get them
fully mixed, this process was quite annoying. However, I can see this as
a potential advantage, if you were to deliberately make something funky and
artsy, where you'd want the colours to remain marble-like..
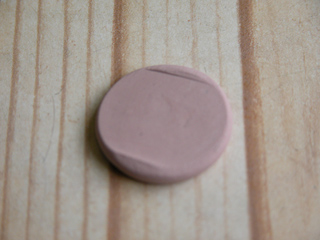
Well, we finally had some pale brown, but this was pretty far from bread colour..
I felt tempted to grab my FIMO and mix a better bread colour, but this was
supposed to be a Sculpey III test, so.. let's suffer on..
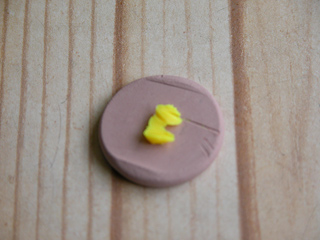
I decided to mix in a tiny bit of yellow, to see if that would improve the
colour at all. It didn't. In fact, you could barely tell the difference - though,
I did only add a tiny bit of yellow.. (It looked SO bright, I was afraid of
making saffron bread..)
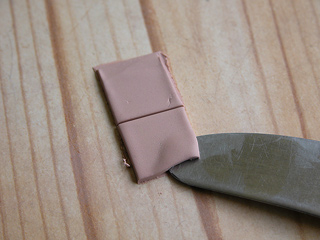
I made bread slices as I'd make them with FIMO soft - by rolling out the clay,
using a knife to cut the right shapes and sizes, then carefully using the knife
to lift the tiny slices off the table... But wait! This clay was so soft and
sticky (like chewing gum, really), even the most careful attempt to slide the
knife under the tiny slices, made them go off shape, and they Really wanted
to stick on to the table surface! I had to scrap this idea, and start again..
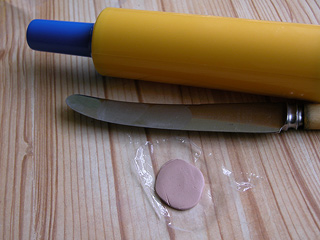
I used a bit of plastic, on which to roll out the clay and make those slices..
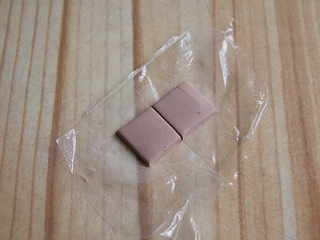
This seemed to work, although it was not handy (especially as I didn't have
much cling film to use..) and I was really missing my dear FIMO soft..
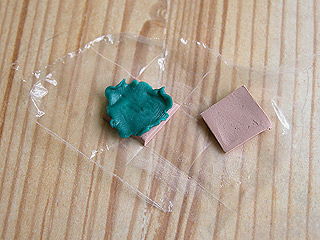
I wanted to have some lettuce in my sambo, so I took some dark green (which
did originally look sort of blue..), some white, and some transparent clay..
Those turned out plain chewing gum turquoise! You can see and read about
that later on.. I then tried again, with only dark green and transparent,
and ended up getting lettuce so dark it looked more like cabbage leaf..
Oh well, that'll do, I thought..
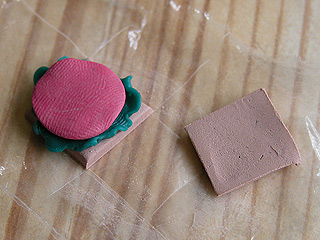
I still had some "bread brown" left, so I thought I'd add a little bit of
red and make a slice of ham for the sambo.. Well, did we get some super pink
luncheon meat, or what! (see above..) It did NOT raise my appetite at all,
but since the bread wasn't the right colour, and the lettuce wasn't the right
colour, I gave up and made it a fully artificial luncheon meat sambo.
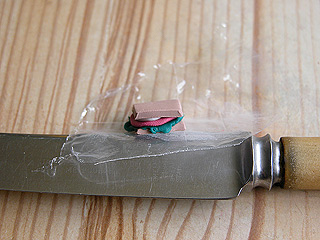
I added some blobs of white for mayonnaise, before finishing the sambo..
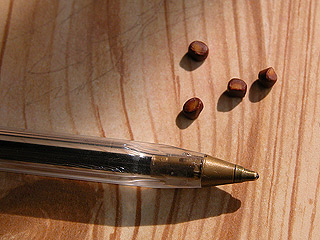
I wanted to try something really tiny, so I made the same chocolate coated
toffees I've made of FIMO soft.. These seemed to go otherwise fine, though
they ended up coated with my fingerprints, which doesn't happen with FIMO.
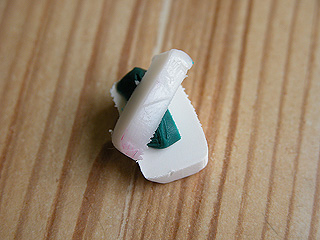
And here's what happened with that first lettuce attempt - see above for the
colours I started with..
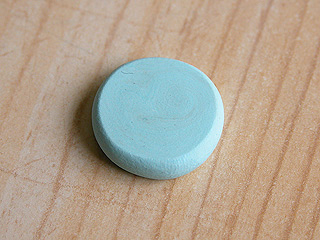
And here's the turquoise chewing gum I ended up with!
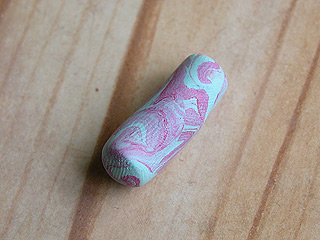
It was not going to be mini food at this stage, so I grabbed some red and
started mixing it in, seeing if I'd get any ideas.. And I DID get ideas!
Only nothing to do with miniature food. If I could have found my knitting
needles, I'd have made a long bead, something like in the photo above, only
a bit straighter..
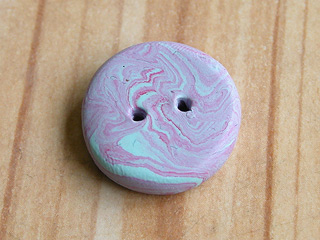
But my knitting needles were well hidden (by myself, of course), so I just
made a funky button. In fact, I really like how the colours are in this one,
so I thought if I can't manage to make much more mini food, I'll have another
test session and use the rest of the Sculpey III for making more funky buttons
or something like that.
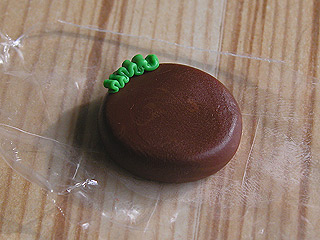
But I didn't give up entirely, on the mini food.. I used the dark brown to
make a chocolate cake base, and mixed dark green and yellow for green icing.
(My sambo was already done, so having NOW found a better way to get light
green, I didn't bother experimenting whether this rather bright version
could be turned into more lettuce-like green, maybe by adding some
transparent only..) Anyway, decorating the cake was NOT easy.. This clay is
just too soft and sticky, so it got on to my nerves a lot, unlike FIMO..
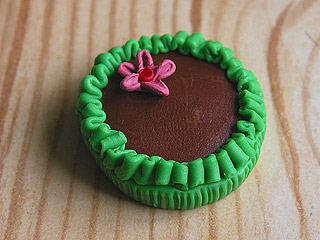
The cake turned out kind of decent, anyway..
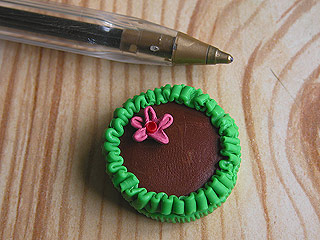
Here's a pen for the scale..
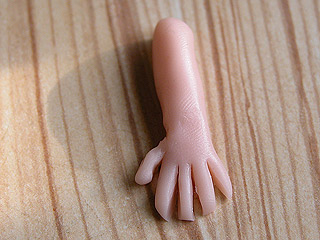
Moving on to Super Sculpey, which I had promised to test for doll parts..
After the Sculpey III test, I was not really enthusiastic about testing Super
Sculpey, but I soon changed my mind completely! I'd say this was even nicer
to work with than FIMO soft! I really, really liked making doll parts with
Super Sculpey. It didn't need any softening to start with, and it was very
easy to sculpt. Also, adding more clay and getting it seamless was easy.
The skin colour was slightly better than that of FIMO soft (obviously, this
would depend on what skin colour you want, but I was making a mini-Stello
for a group competition, so I wanted a skin colour close to mine, and this
clay was it)
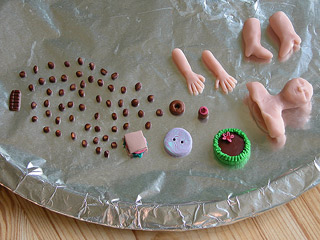
Here's the lot, waiting to be baked.. I was stressing about baking it a bit,
because the instructions were different from FIMO, and we have a gas oven,
which tends to easily burn clay items if they're left in the oven for a minute
too long, or if they're too close to the back of the oven.. I decided to bake
them as I would bake FIMO, and just keep an eye on them while baking..
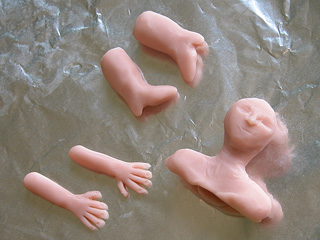
Close-up of my doll parts before baking..
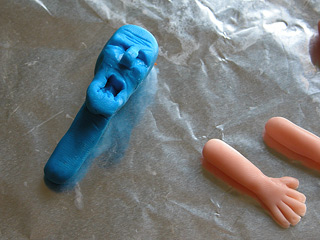
Daniel made a FIMO monster head, which I baked with the same lot - so,
that's not really a part of the test!! LOL
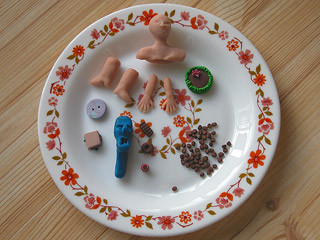
Here's the lot after baking - I was pleased to notice that the skin
colour on the doll parts actually got even better in the oven!
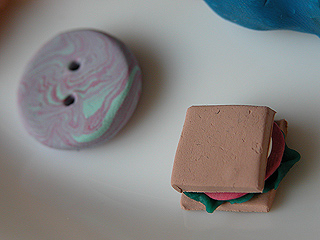
Funky button and a tiny sambo..
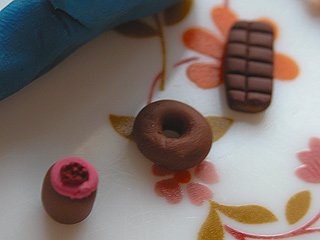
Mini tart, donut, and a bar of chocolate..
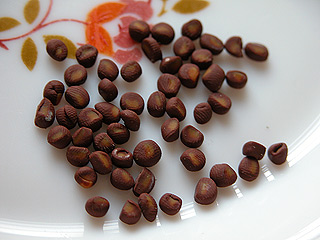
Chocolate coated toffees..
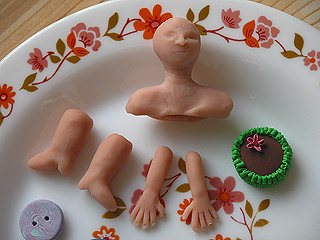
Doll parts and a cake..
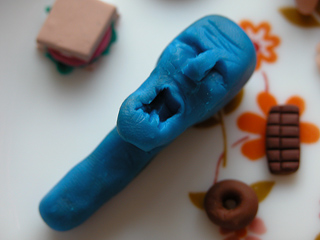
Daniel's monster head (FIMO soft) again..
Conclusion: I would NOT recomment Sculpey III for miniature food, but
it would be brilliant for anything where you'd want bright and funky
colours, marble effect, etc.. Buttons, beads, misc. decorative items..
If you have a wide range of colours and plenty of time, then it might
be possible to mix natural colours suitable for food items, but
personally I'd pick FIMO for that, anyday.
Super Sculpey, however.. A fantastic clay for doll-making! It's good
to remember, though, that different people like different types of clay.
I've heard some people say that FIMO soft is way too soft for them, so
they might find Super Sculpey even worse - at least it felt softer to
me.. Personally, I work on a cold table surface, and my hands are often
a bit cold (at least when working where I do), so FIMO soft and Super
Sculpey are ideal for me. For example, I found working with FIMO classic
a bit difficult, because getting the clay initially soft enough to work
with, took a long time. Once I got it softened enough, it was good.
If they ever start selling Super Sculpey in our local craft shop, I'll
probably use that instead of FIMO soft, for dolls. I doubt I'll order
it from abroad, though.
Finally: Thanks to Krizze for the testing opportunity!
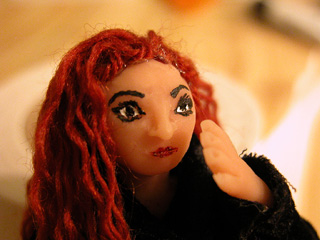
Want to see the finished doll? Go here
RETURN TO THIS & THAT SUBMENU