FIMO IN A MORE TRADITIONAL WAY
So far, I've made all my clay items of just one colour,
and painted them with acrylic colours after baking. This was mainly
because I couldn't afford to get all different colours of clay, and I
thought it was kind of nice as well, since using just one colour of clay
meant I wouldn't be wasting any clay if I happened to make a mess of
mixing the colours.. However, now that I had some money to spend on
materials and such, I thought I'd try the more "traditional" way of using
FIMO, and actually mixing the colours to avoid having to paint the items.
I got a nice spread of base colours (see my Mini Diary for more..), and
found that mixing colours wasn't nearly as difficult as I had imagined. I
think I'm hooked... Here are some pictures of my first lot:
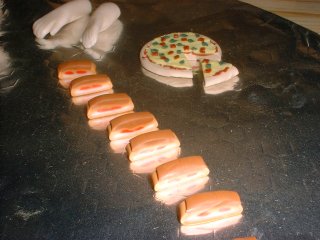
A pizza with a slice cut out, and cream slices before baking. (The hands
in the back are old doll parts which have been waiting for baking for months..)
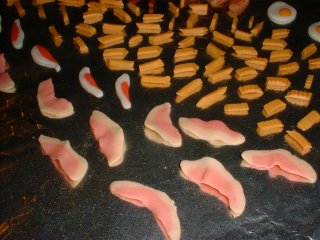
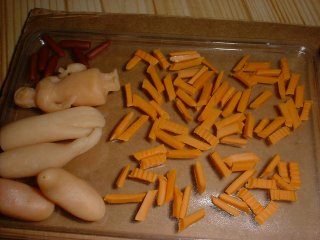
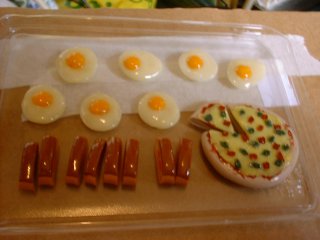
Chips, raw and fried rashers before baking..
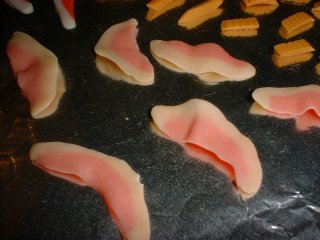
Fried rashers before baking..
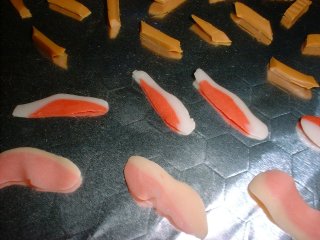
And both raw and fried rashers..
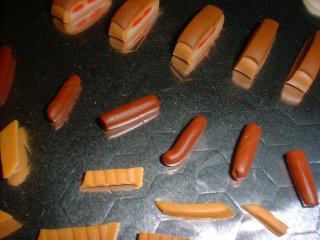
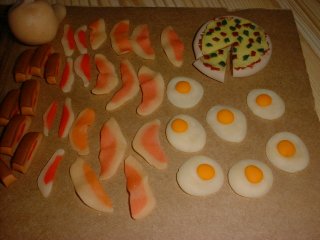
Chips, sausages, and cream slices..
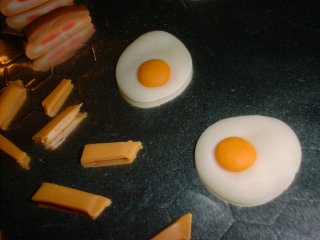
And some fried eggs..
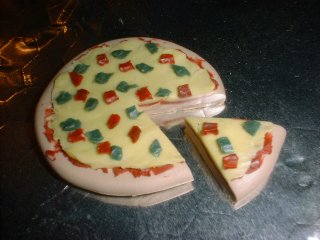
Pizza close-up..
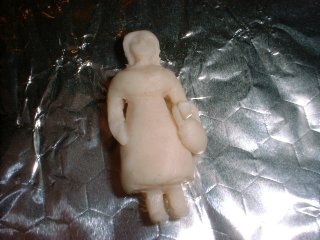
Old mini-doll that was waiting to be baked..
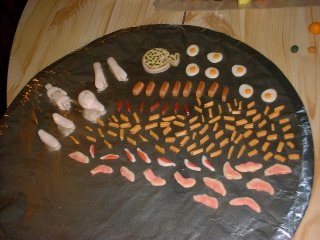
The whole lot before baking..
Woohoo! This time our gas oven didn't kill the stuff!
The chips are not really the colour I wanted, but I got bored mixing that colour
and thought they were close enough.. LOL I'll try to get a closer colour next time..
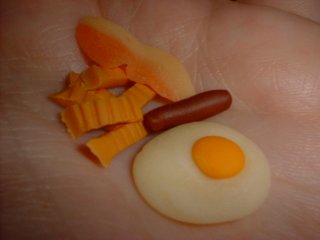
This'll make a nice little breakfast once I add some glossy finish and stuff..
Clear nail polish added.. (NOTE: I've heard that nail polish can eventually
cause the clay to soften and go all sticky on the surface, so I don't recommend
nail polish as clay varnish to anyone else. I just used it, because the shops
didn't have any proper varnish for FIMO items, and I was too impatient to wait!
LOL ... I've also heard that you can make matt varnish by watering down some
PVA glue, and brushing it on the items - I haven't tried that yet.)
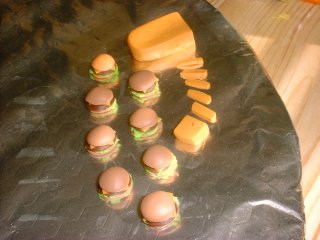
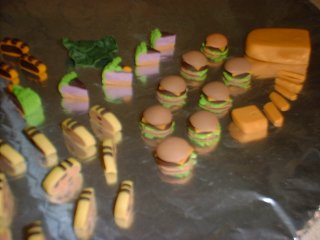
The first items of my next lot.. Tiny hamburgers and cheddar before baking..
(NOTE: These are NOT McDonald's burgers as I don't like that chain,
and would never support them in any way)
My marsipan and chocolate coated cheese cake before slicing and baking... I
almost didn't have the heart to slice it, but then no one would have seen the
cheese cake colour inside! LOL
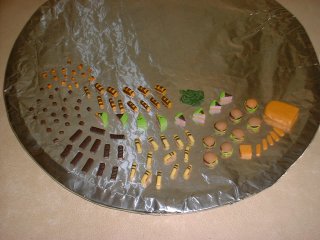
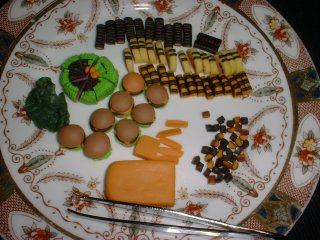
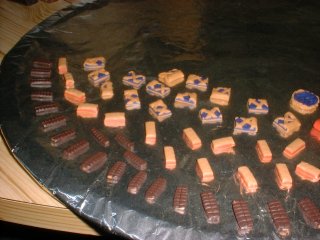
The whole lot before baking..

Chocolate bars, chocolates and toffees, cakes..
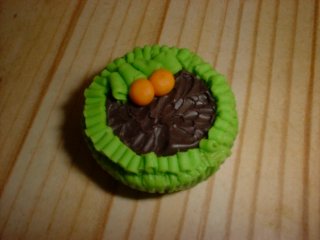
More cakes, etc.. The green blob in the back is a cabbage leaf, which I made
just because I had a little bit of mixed green left, and I didn't want to leave it..

One of my tiny burgers after baking.. I think it's kind of cute..
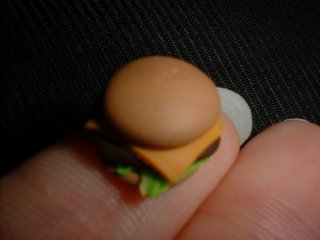
Another angle.. I'm quite happy with the lettuce!
Here's everything after baking!
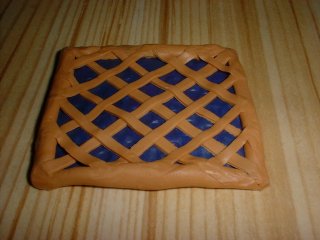
Blueberry tart before slicing..
Chocolate bars, raspberry slices, and blueberry tart slices on their way
to the oven..
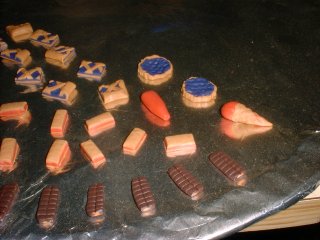
Two smaller tarts, ketchup bottle, and ice cream..
Blueberry tart and raspberry slices finished with nailpolish.
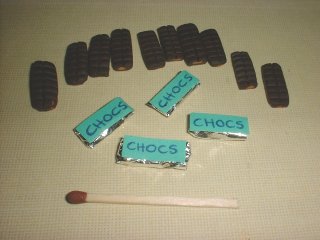
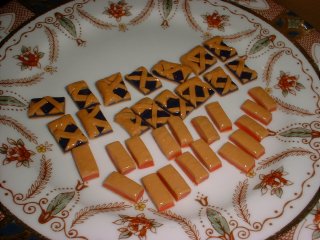
Chocolate bars, some wrapped, some unwrapped..
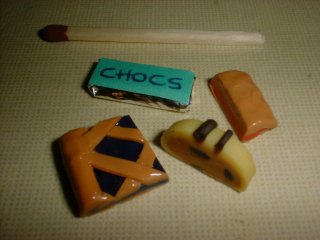
Seven swappers will get this kind of goodie set..
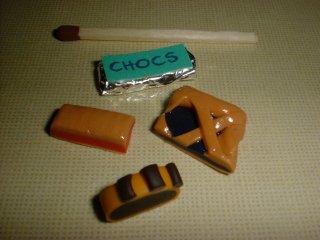
And the other seven will get this set..
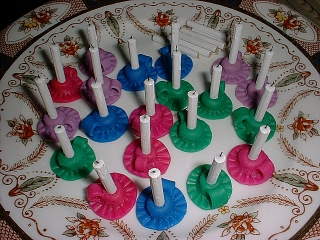
FIMO WITH BALSA WOOD, FOR A SWAP
I took part in a "decorative item" swap, in one of the Finnish groups,
and although there were so many possibilities, I found it really hard to think of
something that wouldn't take ages to make (I had to make 16 items for the swap).
Eventually, I decided to make a candleholder with a candle, since that should go
with both modern and historical style dollhouses - I did use pretty wild colours,
but it shouldn't be too difficult to paint the candleholders if someone wants theirs
in a different colour.
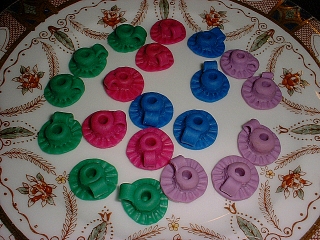
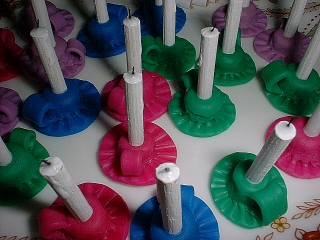
The candleholders..
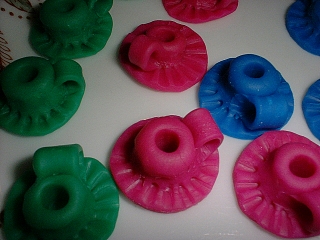
A close-up.
Painted balsawood candles, with black thread wick.
I finished the tops with PVA glue, to get that "waxy" look around the wick..