Back to DIY submenu
TEDDY (or other soft toys) FOR DOLLHOUSE:
This is an easy way to make teddy bears or other soft toys for your dollhouse or other mini scenes. All you need is a selection of pom poms (soft fibre balls), some glue (I use wood glue), and tweezers. It will also help to have something holding the bodies while gluing and drying the glue. For example, push pin needles through some cardboard, and then turn the cardboard so that you have a line of needles pointing up. Then push the body pom pom through a needle (mind your fingers!!). NOTE: it's not a good idea to use superglue as you won't get the needle out once the glue dries! Also, superglue doesn't look good on the pom poms when it dries.. I recommend wood glue. When it's completely dry, you can still get your pom pom toy off the needle.
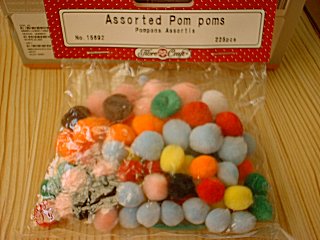
Assorted pom poms (thanks to Marie who sent them!)
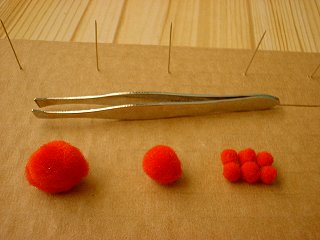
Here you can see my needle line, and the pom poms you need for a teddy bear. One big
pom pom for body, one middle size pom pom for head, and six small pom poms for paws
and ears.
The body pom poms are on the needles, ready to be worked on.

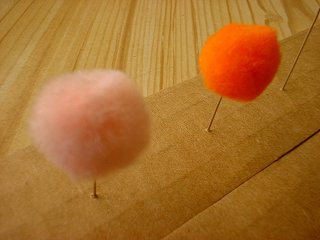
Hold the head pom pom with tweezers, dab it in wood glue, and then place it
on top of the body pom pom. Support the body pom pom from below (so that it
won't slide down on the needle), and push the head pom pom against the body,
holding it for a little while. Once you let go of it, it will probably "bounce"
up and look like it's never going to stay on its place, but don't try to adjust
it, just leave the glue to dry. It will actually be quite strongly attached
once the glue is dry, believe it or not!
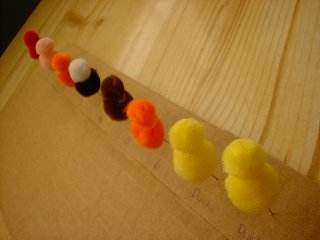
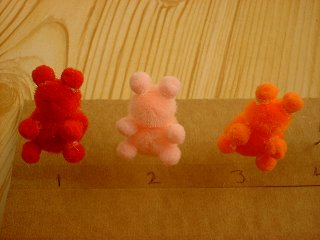
My line of toys, with just heads glued on. I find it's good to let the glue dry
before gluing the paws and ears.
Here I have added the paws and ears. I find it easier to glue the back paws first,
then the front paws, and then the ears. If you want to make it even easier, let the
glue dry between these steps. I don't have that much patience, so I just glue them
all in one go.
Work exactly like you did when gluing the heads.
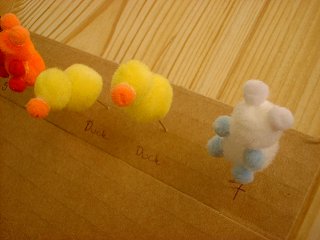
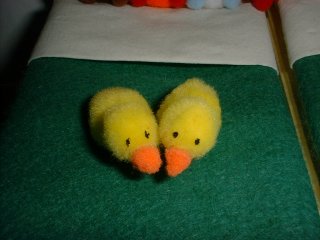
I made some toy ducks as well. Body and head pom pom like the teddy bears, but
instead of adding paws and ears, I've just added a small pom pom for a peak. Don't
worry about everything being so round - once the glue is dry you can sculpt the
toys with sharp scissors!
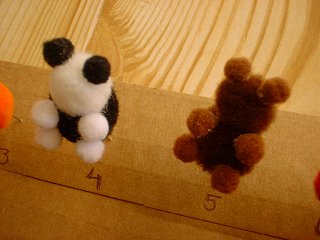
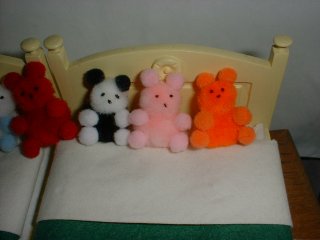
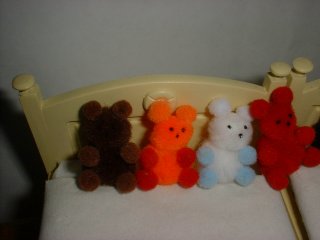
A black and white "panda" teddy, and a more traditional brown teddy. Combine any
colours!!
My little teddy bears and ducks after trimming. I made the ears flatter, and made
some shape to the faces, using sharp scissors. It can't really be seen in this
group picture, though you can just about see the duck peaks, which are not so
round anymore.

Here's a close-up profile of one teddy - see the ears and face. You can also flatten
their bum slightly, so that they won't get knocked down so easily.
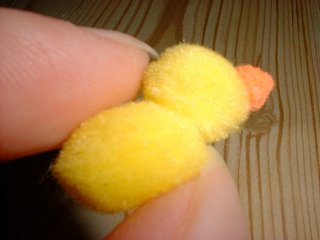
Close-up of a duck. See the peak shape.. I've also shaped their body slightly, making
it more bird-like. NOTE: As the head is quite heavy, the duck will fall on its face
unless you make it lean on something, or glue/pin it on its place. Alternatively, you
can make its head of a small pom pom (instead of the middle sized one I've used), and
make the peak of something else, like paper or a bit of a match stick carved to the
right shape, for example. Depending on the head position, your duck might be balanced
enough not to fall on its face.
Add a dot of acrylic paint for eyes (and nose, if you wish - in teddy bear's case). You can also use very tiny beads or paper eyes, but gluing them might be very difficult. I haven't tried, so you're on your own!
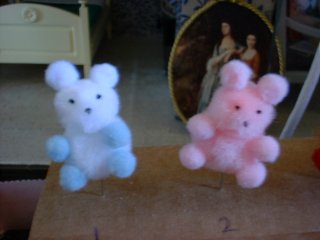
Close-up of two teddies with painted eyes and noses. I used black acrylic paint, but
you could also try different colours. For example, if your teddy is very dark, you
might want to use pale brown, or even pale pink for the nose. Whatever you think
looks good!
It's not easy to apply paint on untrimmed pom poms (not always easy on trimmed pom
poms, either), so use a very thin brush, and practice on a loose pom pom to avoid
ruining the item you've glued together.
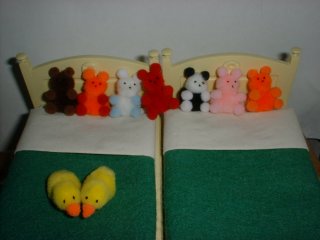
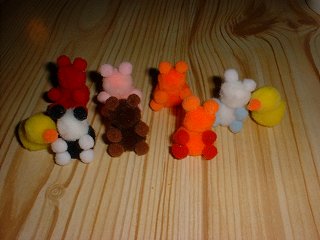
Many of these teddies are about to move to Finland (for a swap), so I wanted to take
a group photo of them.
Back to DIY submenu