FRAMED ROOMBOX
This project was taking over my mini diary, so..
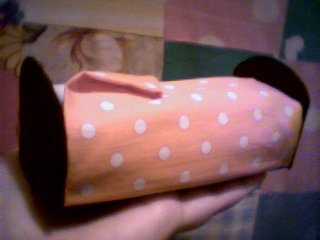
8"x10" black photo
frame
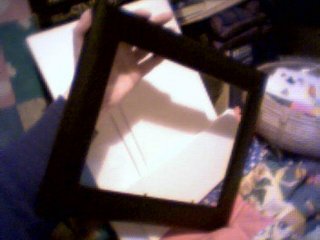
I took an 8"x10" black photo frame, taking out the back panel, so I have the actual frame and the glass, which are going to make the front window of my roombox. I didn't have a box, so I had to make one. I'd have liked to use wood, but I only had two sheets of some foamy stuff that I got with posters:
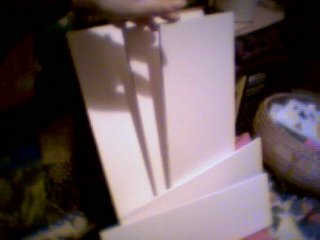
Walls for my
roombox..
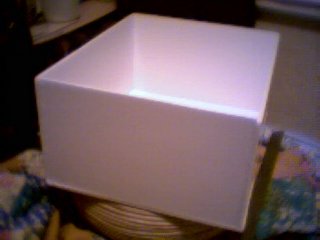
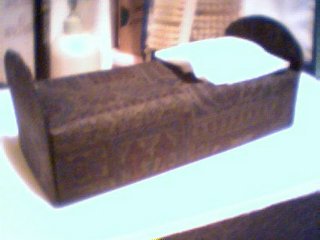
Freshly glued box
drying..
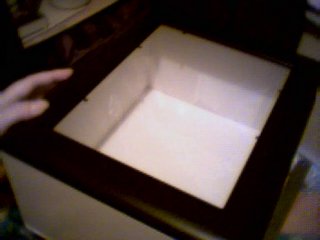
Front window seems to fit
fine
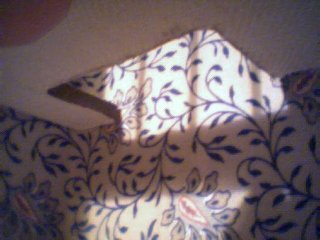
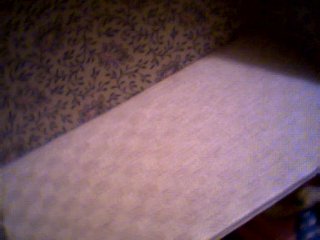
Time to cover the blank white walls.. I don't have too many different fabrics to use, and most of them are very dark, so they wouldn't really make good roombox wallpaper as there's not going to be much light in there, anyway. I ended up using the same Laura Ashley stuff for walls, which I've also used in my dollhouse, AND in my previous tiny roombox.. The crispy white ceiling looked quite horrible with this wallpaper, so I glued some old linen on the ceiling, to give it some texture and colour.
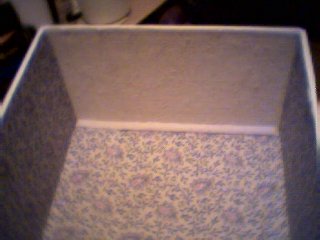
Ceiling and walls
covered
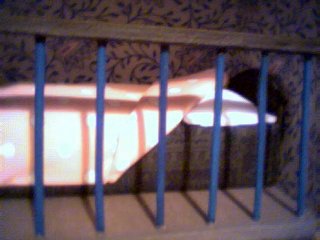
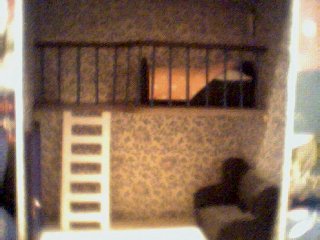
I picked the shorter side of the box for floor, getting more height to the room, which allows me to put in a balcony. I decided to make it curvy, cutting it from the same foamy stuff than the box itself, and making a railing of another bit of the foamy stuff and a few planting sticks:
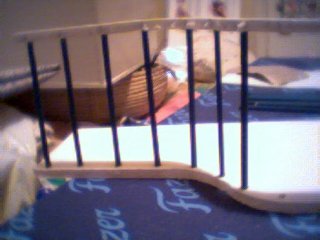
Working on the balcony
railing
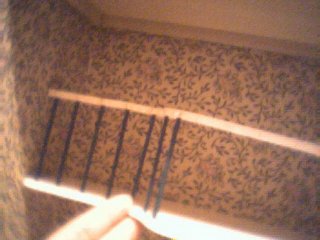
This is where the balcony
will be
I glued some leftover fabric on the foamy part of the railing, to make it easier to paint. Same with the front edge of the balcony floor. I painted the balcony floor brown, and glued some old linen below it (which will be the ground floor ceiling). I painted the railing a bit darker brown, and decided not to paint the green planting sticks at all - I kind of like them as they are.
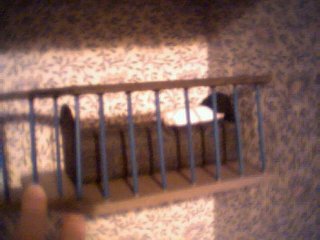
Painted balcony (more about
the bed later)
Balcony entrance behind the
railing
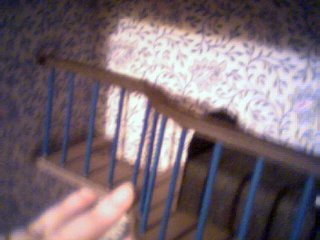
Entrance from
below
The balcony is going to be an open bedroom, so I needed
to make a bed. I took some thin cardboard, and made a box for the bed
frame. Then I glued some dark fabric around it. I made the ends of
slightly firmer cardboard, covered them with the same fabric, and glued
them on their places.
The pillow is just a strip of white cotton. I
folded it to the right pillow size, and superglued one end together. Then
I filled it with some cotton wool, and glued the other end together as
well. There was a slight mishap with the gluing process - a tiny bit of
wood from a clothes peg got glued on one corner of the pillow! But being
the lazy person that I am, I'm just going to hide that with the duvet,
heh..
The bed and the semi-wooden
pillow..
It was time to make the main room floor. I had thought of making fake tiles of painted and polished cardboard bits, but then I found a piece of another kind of old linen (which I've also used in my dollhouse as well), glued it on a bit of cardboard I had cut to the floor size, folded the edges down to make it look neat, and finally glued the covered cardboard to the box floor.
Linen towel ---> fitted
carpet
There is going to be a ladder to the balcony, and the
ladder will be leaning on the back wall on the left, so there has to be
some empty space in front of the ladder to allow climbing. This would
leave a 'dead' corner in the roombox, so I decided to make a fake door to
the left wall, right next to the ladder.
I cut the door out of the same
foamy sheet than lots of other stuff by now, then cut out thin strips to
mark the door and its decoration. Then I painted the frame brown and the
door itself blue, and finally glued a miniature doorknob on it - a mini
surprise I received a long time ago, and only got to use now! (Now I feel
like making lots of tiny doors!! LOL)
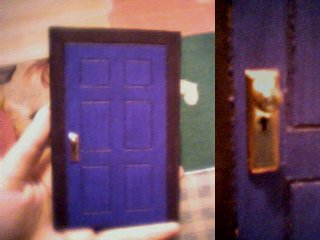
The door and a close-up of
the doorknob
Time for a cunning hide-the-wood operation (LOL).. I made a duvet of a very duvet-like fabric, securing it to the right position with superglue. It looks like someone just got up without making the bed, and *tadaa*, the dodgy corner of the pillow is hidden forever..
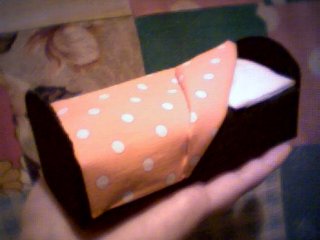
The visible side of the
bed
This side will be glued to
the wall
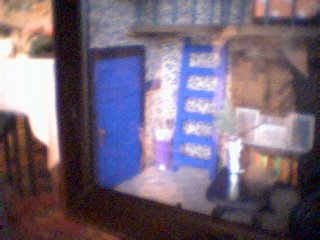
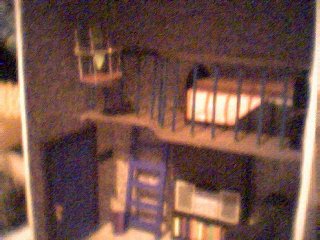
And finally I glued the balcony and the door in their places. There are fabric-covered and painted planting sticks glued to the wall below the balcony, supporting it and making it look neater.
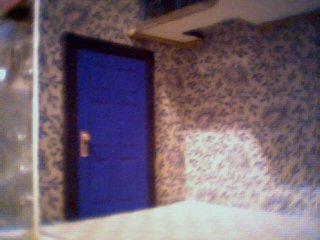
I'm quite pleased with the
door
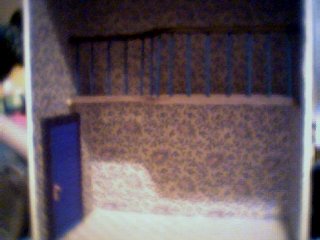
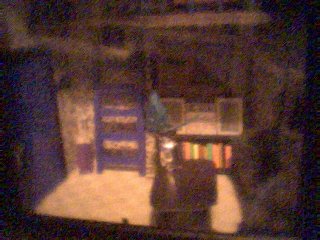
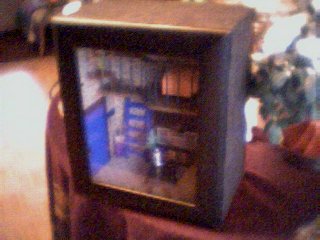
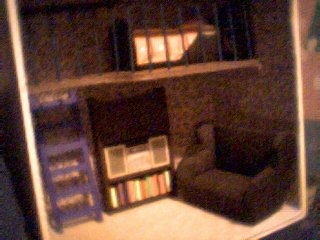
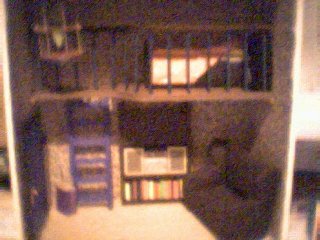
General view to the
room
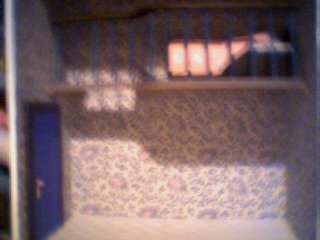
General view with the bed
in place
Close-up of the bed,
through the railing
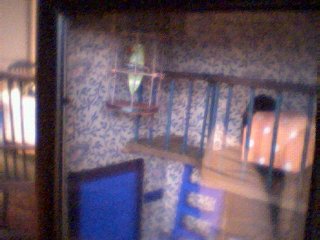
Now that I have added the Finnish Christmas swap page to the site menu, I can also show the latest pictures of my little room - where I have one of those secret items, heh.. See the 'Finnish Christmas swap' page to read more about my crucifix project.
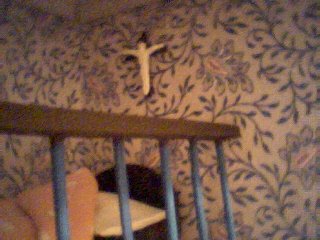
Close-up of the crucifix on
the balcony wall
I've made a little couch, too. A two-seater. I didn't plan it very well, I just started cutting out pieces of foamcore and cardboard, and gluing bits of fabric to them, stuffing it with cotton wool as I went along.. It turned out OK, although there are some little mistakes I need to cover with pillows or something (should have planned it a bit more!)
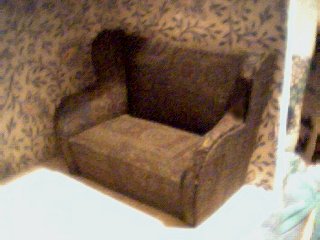
My little
couch..
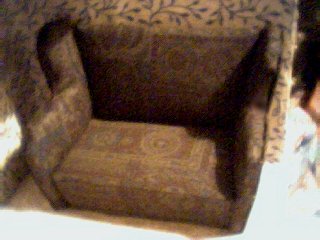
Another
angle..
General view (ladder NOT
finished!!!)
There's not much room between the bed and the railing,
but I made a little 'IKEA style' bed side table (without measuring, mind
you!!), which JUST fits in that space! It's made of cardboard (cut from a
Whiskas cat food box!), and I painted it black with glossy paint that's
meant for cars. I wanted to make an alarm clock, so I was looking for
something round, and finally found a rubber part that was JUST what I
needed. I made the clock face of cardboard, and glued a bit of paper on
it, drawing the clock on it.. Then I cut tiny cardboard stands for the
clock, and painted them black. It's a bit big, but it'll do.
I also had
some Cadbury's Banoffi chocolate wrappers, so I made a glossy purple
shopping bag, and filled it with a tiny roll of Christmas gift wrap and
some clear plastic that looks like a little present.
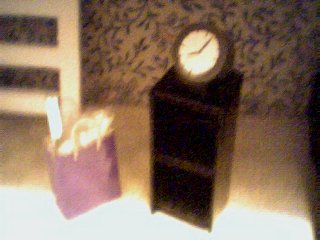
Bed side table, alarm clock
and a shopping bag
I hadn't touched my bass guitar for a few years, so when I started tuning it the other day, I snapped the D string. It wasn't all bad, cause I noticed it would make perfect material for the little bird cage I had been planning to build. I already had the bird, from an old 80's earring, so I made a round base of foamcore, measured and cut the right length of bits from the string (four of them), made little holes to the edge of the base for the string ends, and painted the base brown. Then I started super-gluing the string bits to the base. I also glued a thin green ribbon around the base as I attached the strings, and once all the strings were in place, I wrapped one more bit of string around the cage, securing it with copper wire (from an old electric cable that would have gone to the bin otherwise). I left one bigger gap to put the bird in (the bird is sitting on another bit of string), and finally secured that to its place as well. I finished the cage by securing the top with copper wire, so that the cage looks as good as possible from all angles.
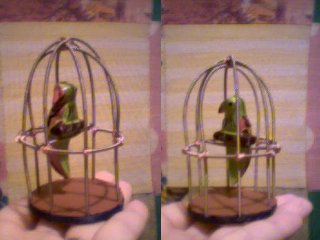
The D string bird
cage
Next object: bookshelf. I didn't bother making one with "real" books (meaning, individually covered bits of cardboard), because the bookshelf is going to be in the background of the scene, so I just made a "fake shelf" using foamcore again. One sheet for the front of the shelf, and two narrow bits for the sides. To give it some depth, I used the same technique than I already used for the fake door - I cut thin strips off to mark the shelves and the doors, and the books on the lower shelf, as well as the "stereo system".. Then I painted it. I finished the look by gluing two note board pins as doorhandles, and advert pictures as parts of the stereo system.. (One bit's from a stereo ad, one from a washing machine ad, and one from James Bond's car! LOL)

The stereo system in the
fake bookshelf
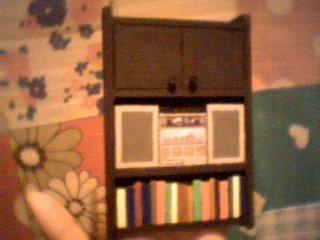
The whole
bookshelf
The bookshelf is now glued
to its place
Sofa and bird cage also
glued in their places
Getting
there...
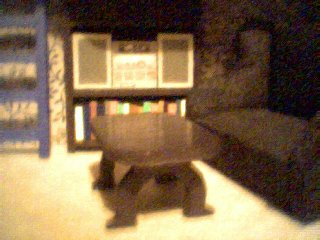
Painted and nail-polished
foamcore table

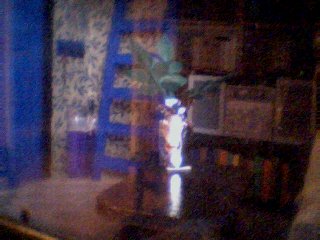
Making a
plant..
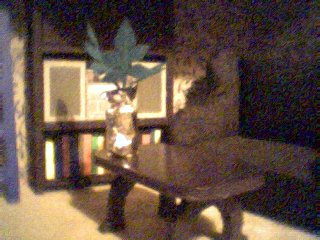
Plant finished & on the
coffee table
Unfortunately, I didn't have time to take pictures of the
finished room before gluing the frame & glass on the box. I didn't
even have time to sleep for a few days before our trip to Finland, and I
finished the roombox just a few hours before we left home! Then I also
managed to DROP it at Dublin airport (!!!!!) Thank God the glass didn't
break, and the only damage was that the bird cage went a bit loose (I had
attached it on the balcony railing), but it still looks fine -
PHEW!!!!
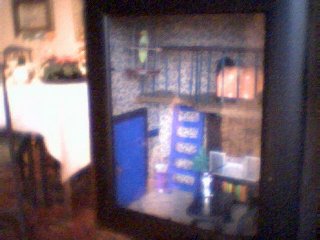
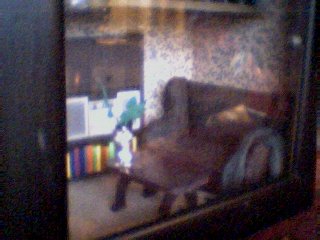
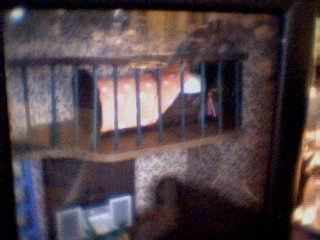
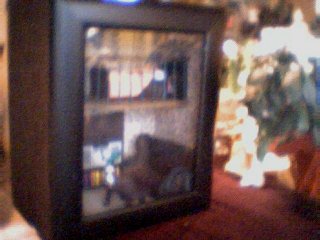
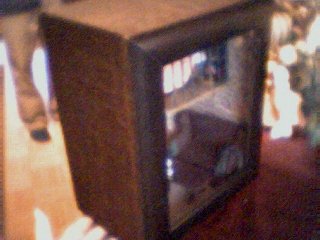
My parents loved the pressie, and these following pictures
were taken on Christmas Day. The Finnish winter light was harsh, and the
glass caused all kinds of reflections, so the pics aren't very good, but
they're the best I could do..