MY FIRST ATTEMPTS WITH FIMO CLAY:

FIMO doughnuts and pulla bread, not bad!
I had some red and white FIMO clay for ages, but I never dared to try it until having seen some great clay items in various online photo albums. Most of the items I have seen were made of different colours of clay, but I found a FIMO tips page that suggested baked items could be painted with acrylic paints. This was good news for me, because I've loads of acrylic paints, for my comics. So, I opened the red clay and started experimenting with it...
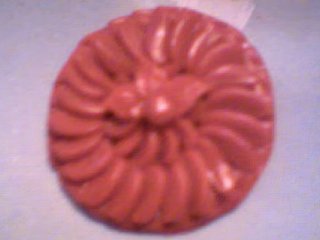
FIMO tart before baking..
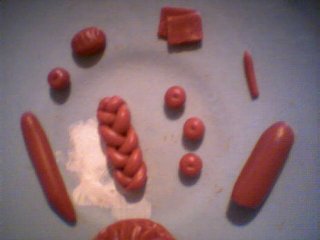
Misc. FIMO items before baking..
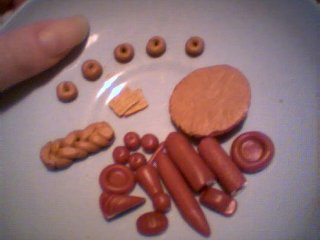
After baking, some first coats of paint..
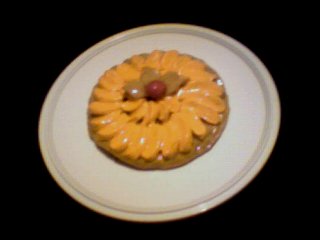
Finished FIMO tart! Painted and glazed..
I found making FIMO items was great fun! And I must have
been hungry as I've mainly made foods.. I never left the kitchen when I
was baking them as I know myself, I'd have happily forgotten all about the
stuff in the oven! But everything went well, and a few hours later I was
painting the first items.
I didn't even attempt sanding the items
as they were so tiny, so I started by painting a thin coat of base colour,
and once that had dried, it was easier to add more layers. I painted the
doughnuts, the pulla bread, and the tart, and I was quite pleased with the
final result.
I used clear nailpolish to glaze the items, although
I've since heard that it's not the best stuff to use as apparently, it may
react with FIMO within a year or so (?). I'll have to wait and see! If
you're wondering how I did the sprinkled sugar you saw in the top photo,
it's actually table salt. I just sprinkled it on the items before the
nailpolish had dried, so it stuck to that permanently.
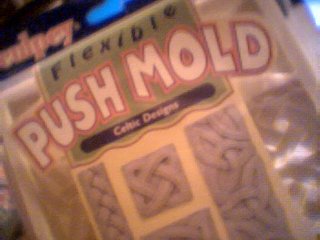
A push mold I got as a surprise!
Daniel (my partner) was going to the shops one day, and asked whether I needed anything. I said he could surprise me with some miniature material - as a joke.. He came back with a lovely Celtic Design push mold for clay / craft soap / candle wax! I haven't tried it yet, but I can't wait to.
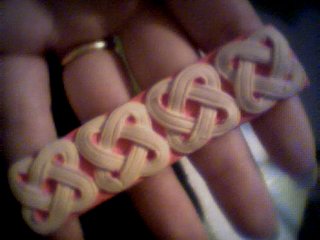
A few days later, Daniel surprised me again, this time
with white and blue soft FIMO! I wanted to try it right away, so it was
time to give the flexible push mold a try as well. I found soft FIMO
quicker to work with than the normal FIMO I tried earlier on. Both are as
nice, though. I noticed that getting the Celtic designs out of the mold in
room temperature might turn out to be a bit difficult, so I put the mold
in the freezer for a while (I saw this tip on some FIMO site). When they
were cold, they were much easier to get out of the mold, though one of the
bigger designs got slightly stuck in the mold and had cracks in it, but
it's still alright. After filling the mold, I had a leftover bit of FIMO,
so I made a little pizza, which I'll paint (like the tart before).
I noticed that the Celtic designs were slightly pinkish, after
baking, whereas the pizza was still white. I'm not sure why, but I suspect
the mold items might have been colder than the pizza when I put them in
the oven (I did let them sit in room temperature after taking them out of
the freezer and the mold, but maybe they could have waited a bit longer,
before baking..?). But it doesn't matter as they'll all be painted,
anyway.
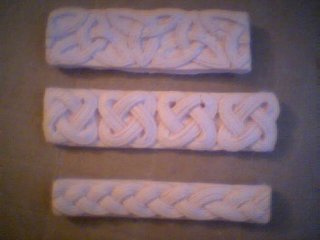
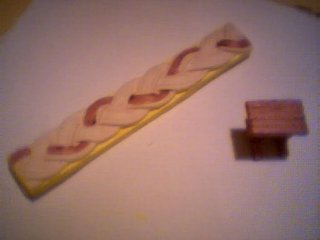
The bigger Celtic designs after baking.
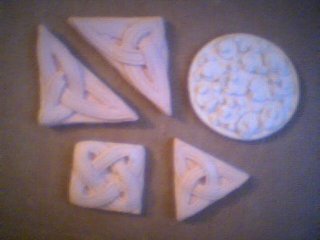
Smaller Celtic designs and pizza after baking.
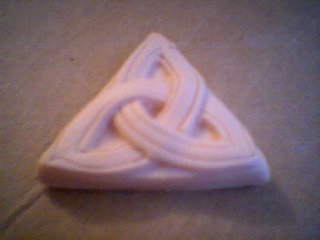
Close-up of the smallest Celtic design.
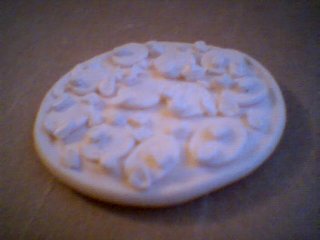
Close-up of the pizza.
I started painting the Celtic designs (see the next pictures). I have a book with some Book of Kells kind of designs, so I decided to use very bright colours as they look good in the book. Unfortunately, the colours look much darker in these photos, but when I finish painting them, I'll try to take pictures in better light.
First part painted, bright red..
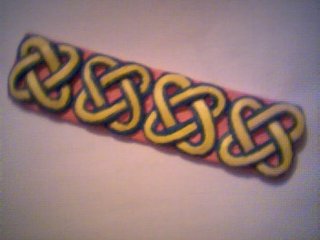
Red, blue and yellow. I might add thin lines of black..
Ok, first item finished. I did add thin black lines between blue and yellow, and then made it glossy with clear nail polish.
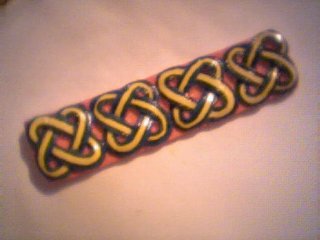
Full picture
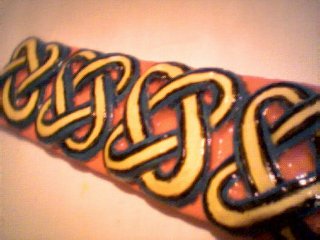
Close-up
Painting another celtic design..